

by NOVA

Sep 10, 2026
Before a feit smart switch 3 way installation search turns into a truck roll, freeze topology choice, line and load commons, traveler roles, primary versus auxiliary placement, neutral status in both boxes, load class, and who owns pairing after a manual two-location test—on one signed sheet. This page is for electricians, integrator coordinators, and distributors packing hallway, stair, and large-room multi-location jobs when buyers arrived on that brand phrase. It is not a manufacturer install manual, not a wire-by-color DIY tutorial, and not a product-by-product comparison.
You will get the copper and kit fields brand videos skip, plus a cutover checklist that keeps 3-way smart switch wiring and smart switch installation paperwork ahead of any SKU ship.
After the Feit-intent sheet clears, open the smart switch pillar for US and EU wall-switch families. Motion-sensor occupancy modes and whole-home energy-monitor installs belong on their own sheets—not here.
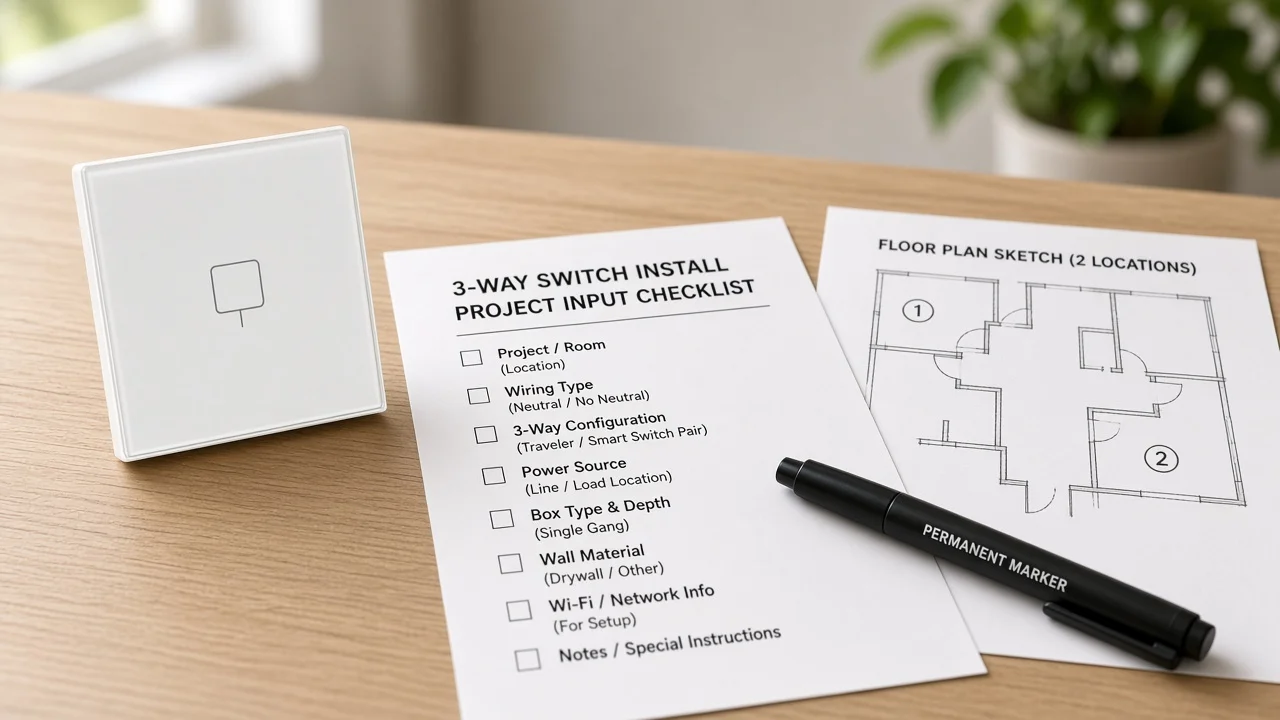
Document the multi-location circuit before anyone reprints a brand card or opens an app. Search results for this phrase are packed with manufacturer help pages and retailer manuals; those pages rarely force crews to archive which topology they ordered, which screw was common, or who is allowed to pair after cutover.
A project-input sheet turns that noise into order gates. Channel teams can staple the signed sheet to the pick ticket so the hardware leaving the warehouse matches the labeled boxes on site.
Name the dual topology choice before anyone orders hardware. Brand-search results for 3-way smart dimmers and switches commonly present two patterns: two electronic units on the same circuit, or one electronic unit with a traditional switch under strict line-side versus load-side placement rules. Those patterns are not interchangeable SKUs, and they are not a free pass to leave any leftover mechanical rocker “for now.”
Write the chosen pattern on the sheet: dual electronic units, or electronic unit plus traditional switch with datasheet placement confirmed. Then write which physical box is line-feed and which is load/fixture side. Community wiring threads repeatedly warn that many smart 3-way families still require a matched add-on rather than a random mechanical second switch—so if the quote assumes a leftover rocker, the datasheet must explicitly allow that topology for that exact kit.
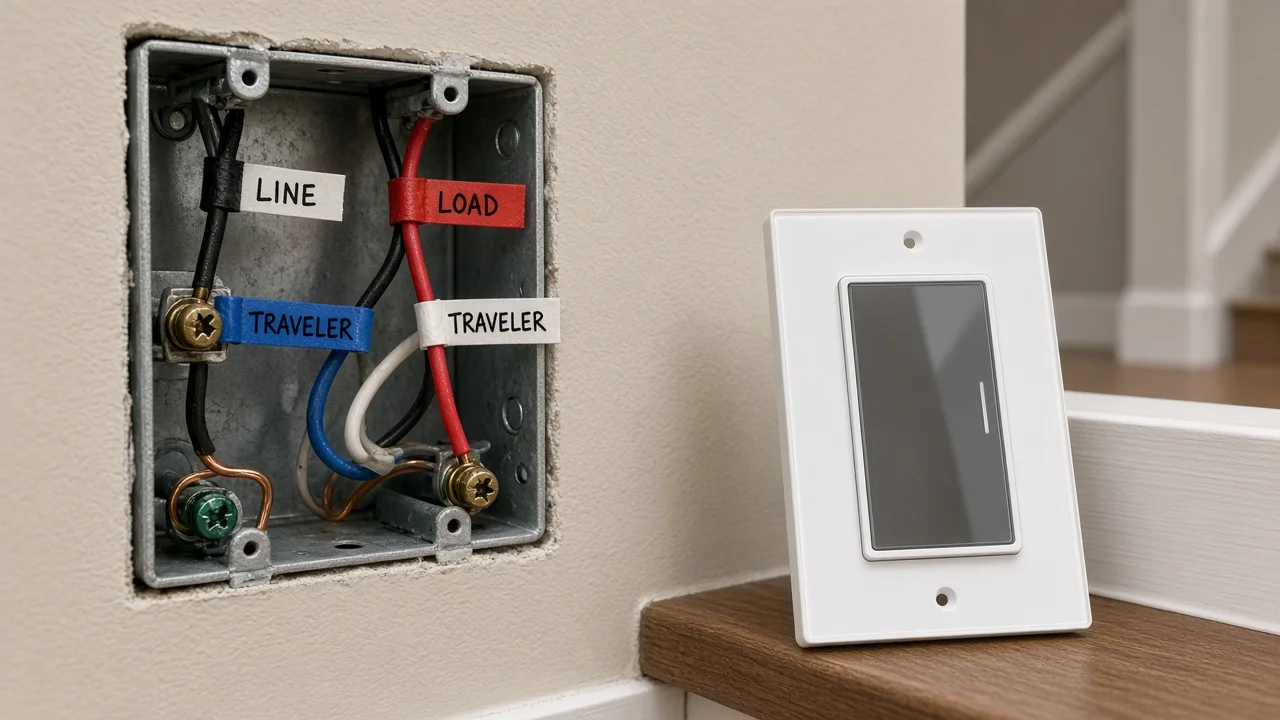
Mark the line / load common and the traveler wires at each box before any wire leaves a screw. Older mechanical 3-ways usually put the pivot conductor on the darker common screw and park the traveler pair on the brass pair. Decide which common is continuous hot and which is the fixture leg; swapping a traveler onto either pivot kills multi-location control.
Jacket color alone will mislead you. Shoot both boxes with the screw finishes still visible, then wrap tape on the pivot conductor before anyone loosens a terminal.
Kits also disagree about traveler landing. One datasheet may still expect both travelers live; another converts a single traveler into a signal path and wants the spare capped. Copy that traveler-use mode onto the sheet so field crews do not rebuild a mechanical habit on a new electronic kit.
| Field | What to write | Why it matters |
|---|---|---|
| Box A common | Line / load / unknown — photo ID | Pivot for that location |
| Box B common | Line / load / unknown — photo ID | Opposite end pivot |
| Traveler pair | Colors + which cable (e.g., 14/3 red/black) | Multi-location path |
| Traveler-use mode | Both travelers / one signal + one capped | Kit-specific landing |
| Ground | Present / bonded / missing | Safety path for devices |
| Label owner | Who marked commons before disconnect | Archive accountability |
Name which box gets the primary / auxiliary layout before trucks leave—primary (master) unit in one box and auxiliary or companion in the other. Independent 3-way smart-switch education describes master units that handle switching and network communication, with auxiliaries acting as remote controls—often with continuous power expectations at a specific end. “Put the fancy switch at the top of the stairs” is not a datasheet.
When a quote floats an add-a-wire kit or wireless companion instead of a hardwired auxiliary, park that decision on the same row. State whether location B remains a matched hardwired add-on, a companion remote, or a documented wireless path—and refuse unlabeled “temporary” mechanical leftovers unless the datasheet for that exact kit allows them.
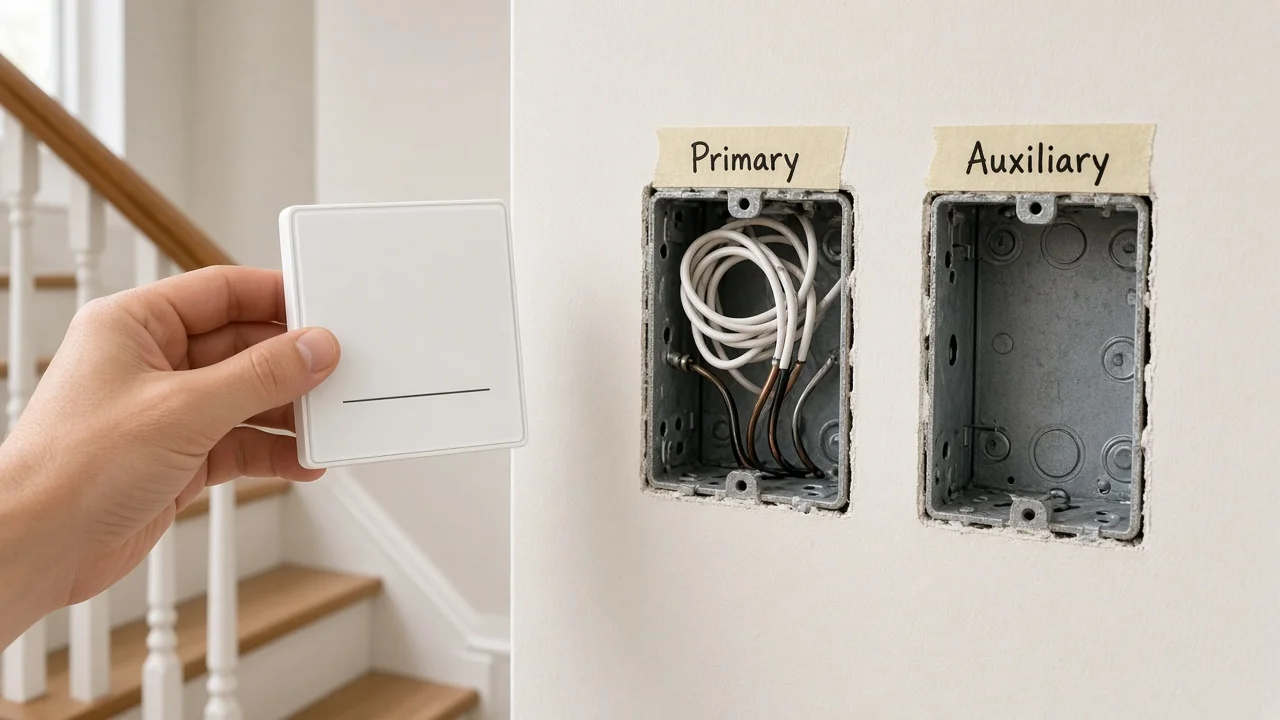
Log whether a neutral is present in each switch box before ordering electronic 3-way kits. Educational summaries of NEC 404.2(C) explain why many lighting switch locations that feed halls, stairs, and habitable rooms are expected to provide a grounded conductor so smart switches and dimmers can draw continuous power—subject to Code exceptions and local adoption. Confirm with the project electrician which Code cycle the AHJ actually enforces, and treat the citation as planning context rather than an inspection stamp.
Hardwired automation communities make a practical twin point: electronic 3-ways usually want a neutral and a traveler path, and low-watt LED loads rarely forgive old leakage tricks. When neutrals exist only at the fixture canopy, escalate a pull or select a datasheet that explicitly supports that exception—and still write the exception on the sheet without expanding into a without-neutral buying guide.
Ground stays on the same row. Bond device grounds to the house ground; do not invent a bootleg neutral on the ground path to “make the switch wake up.”
Write the LED load type and other lamp/driver classes beside every smart-switch SKU candidate. Electronic controls publish different ceilings by load family and sometimes a floor; sparse LED runs that sit under that floor shimmer, glow, or refuse a clean off.
Record fixture count, ballpark watts, on/off versus dimming, and any driver known to quarrel with electronic switches. If the datasheet lists an LED table or a bypass accessory, copy that part number onto the sheet before the truck rolls—without inventing watt ceilings from brand marketing cards.
Important: When LEDs shimmer after a Feit-intent 3-way cutover, inspect load class and traveler landings before you blame firmware. (source)
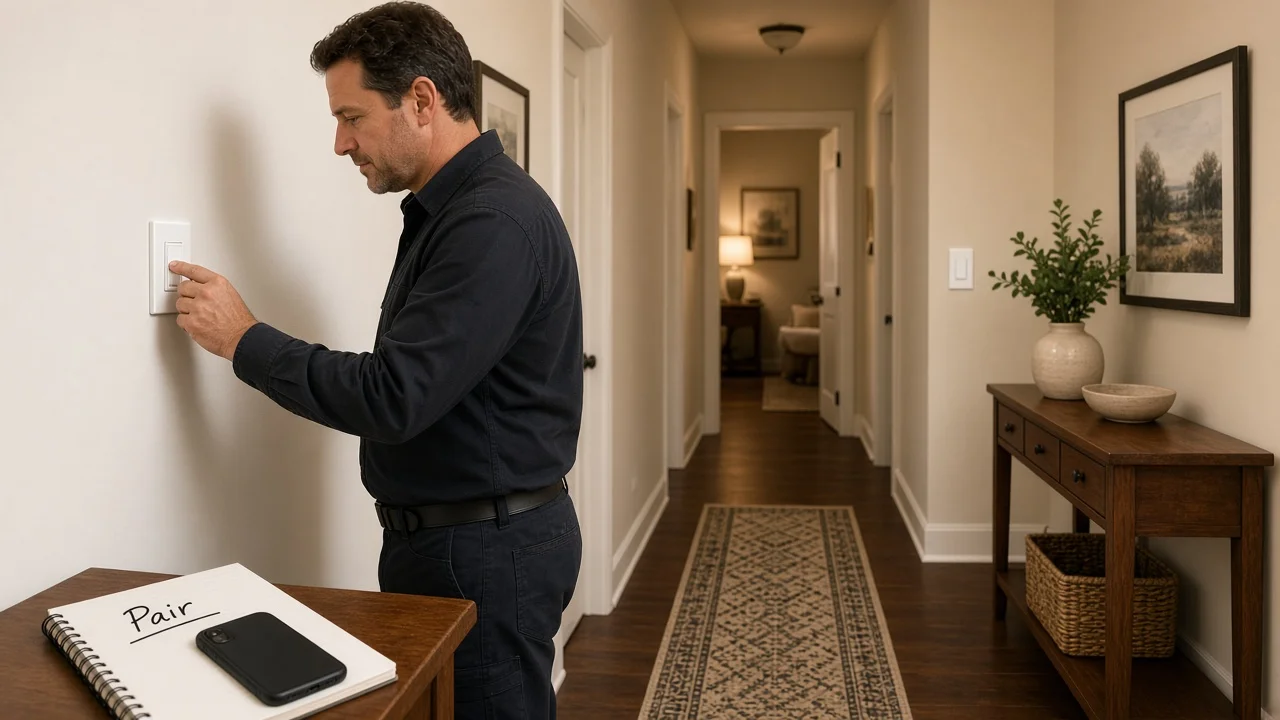
Prove the wall circuit from both locations before anyone owns pairing after cutover. Independent install education and overview-style prep sequences repeatedly restore power, confirm manual operation, then start network pairing. Binding the phone while travelers are half finished manufactures “offline” tickets that are still copper problems.
Record three names on the sheet: who restores the breaker, who walks both ends for a manual toggle proof, and who may bind the app or hub afterward. If the kit needs a separate primary-to-auxiliary linking step, keep that commissioning row distinct so warehouse staff do not treat “powered” as “paired.”
From the field: SmartThings contributors urge photographing existing wiring—including which screws held which wires—because jacket color is not guaranteed and memory fails after the plate comes off. (source)
Freeze topology photos and fields before purchase orders move. CEDIA-style smart-home wiring practice still expects labeled ends and archived paths so the next crew is not guessing; apply that habit to a Feit-intent 3-way cutover even when drywall stays closed.
| Input | What “done” looks like |
|---|---|
| Topology choice | Dual electronic / electronic + traditional / matched primary+aux — datasheet confirmed |
| Common IDs (both boxes) | Tagged + photo with screw color visible |
| Traveler pair + use mode | Colors, cable, and datasheet landing mode noted |
| Primary / auxiliary plan | Boxes labeled; kit type named |
| Neutral status (both boxes) | Present / absent / fixture-only — verified by |
| Ground | Bonded / missing — action noted |
| Load class | LED / CFL / incandescent / mixed + approx. watts |
| Pairing ownership | Manual-test owner + app-bind owner named |
| Photos archived | Both boxes labeled before disconnect |
| Sheet sign-off | Signer, date, distributor PO reference |
Every row filled means the pick ticket can move. Blank rows are stop-work for ordering.
Recommend a bounded SKU only after the topology and copper rows pass. On the live MOES Tuya WiFi Star Feather Series US Switch page, models WS-SF-US1/2/3/4 appear as a Wi-Fi US-format wall-switch family rated 90–250V AC with 10A per gang (10A total). Collection evidence describes those US Star Feather entries as neutral-wire products, and Light Mode and Scene Mode cannot be used simultaneously on that family.
Use Star Feather US when the signed sheet already shows US form factor, neutrals where required, a Wi-Fi path, load within the published totals, and confirmed multi-way kit notes for the exact SKU. Do not treat the family as a universal primary/auxiliary pair without those notes. Skip it when neutrals are missing, the job mandates a non-Wi-Fi protocol, the load exceeds page totals, the box needs EU form-factor geometry, or the open question is motion-sensor occupancy rather than a standard smart wall switch.
Tip: After the sheet is signed, browse the smart switch pillar for related wall-switch families, or Contact Us for channel packaging questions—not as a substitute for incomplete copper rows.
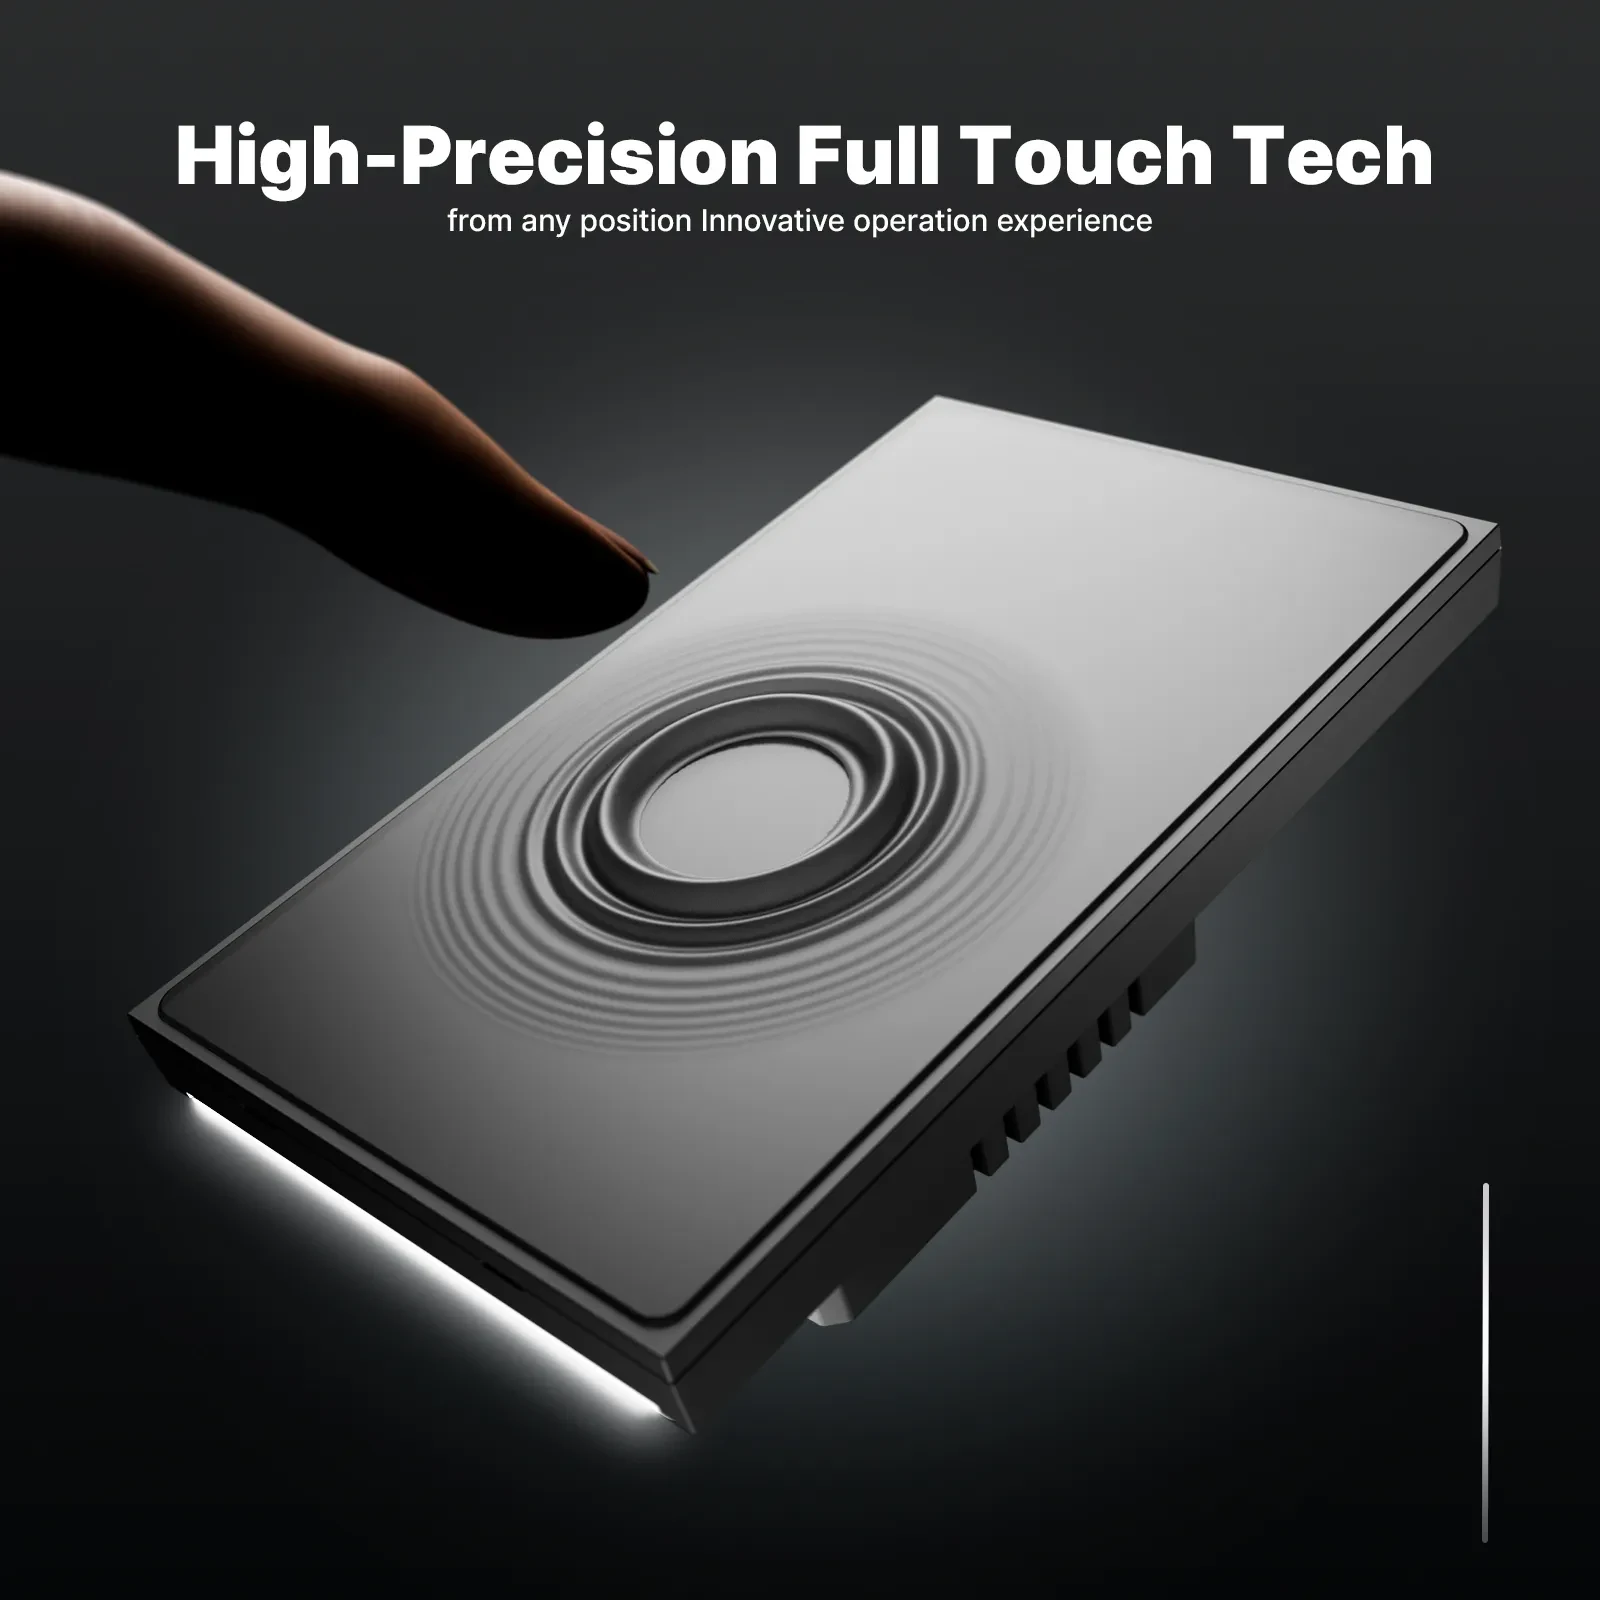
Topology choice, line/load commons, traveler pair and use mode, primary versus auxiliary placement, dual-box neutrals, load class, photo archive, and pairing ownership after a manual two-location test—on one signed sheet.
Only when the exact datasheet allows that topology and placement. Brand-search cards often mention a traditional switch option, but many smart 3-way families still require a matched auxiliary or companion. Write the confirmation on the sheet before ordering.
Yes for planning. Many electronic 3-way kits need a neutral to power internals while lamps are off. Log present/absent/fixture-only at each box; escalate a pull or a datasheet-supported exception instead of bootlegging ground as neutral.
Photograph both boxes with screw colors visible, meter-identify the continuous hot common when safe, tape-tag commons and travelers, and write the kit’s traveler-use mode from the datasheet before disconnect.
After power restore and a successful manual toggle test from both locations. Pairing first turns copper mistakes into “offline device” tickets.
Check load class, minimum-load notes, traveler landings, and driver compatibility before blaming firmware. Write lamp/driver class beside every SKU candidate.
An explicit dual-location topology row—dual electronic units versus electronic plus traditional switch versus matched primary/auxiliary—confirmed against the datasheet before the PO.
When the signed sheet already matches US format, required neutrals, Wi-Fi, load within page totals, and confirmed multi-way notes for the exact SKU. Otherwise keep searching the smart-switch pillar or escalate the copper gap.


OTHER SMART DEVICES
Jun 13,2026
OTHER SMART DEVICES
Jun 12,2026
TUYA SMART HOME PRODUCTS
Jun 12,2026
 +86 137 3639 3028