

by NOVA

Sep 01, 2026
Motion sensor installation for homes works when crews freeze coverage goals, placement geometry, false-trigger risks, power class, and hub notes before anyone mounts a device—not after the first noisy night. This page turns those checks into project inputs installers can archive, then shows where MOES presence sensor examples fit once the sheet is signed. Use it beside a floor plan before home motion sensor cartons leave the warehouse.
Write the room job and the coverage path for every home motion sensor before you build a packing list.
A hallway “arrival lighting” job is not the same as a living-room “still occupied” job. Passive security intercept at an exterior door needs a clear entry path; an automation sensor for a bathroom needs a different hold behavior and a different false-trigger profile. Name the job in plain language on the sheet, then name the primary path the sensor must see—door swing, stair landing, or main walkway.
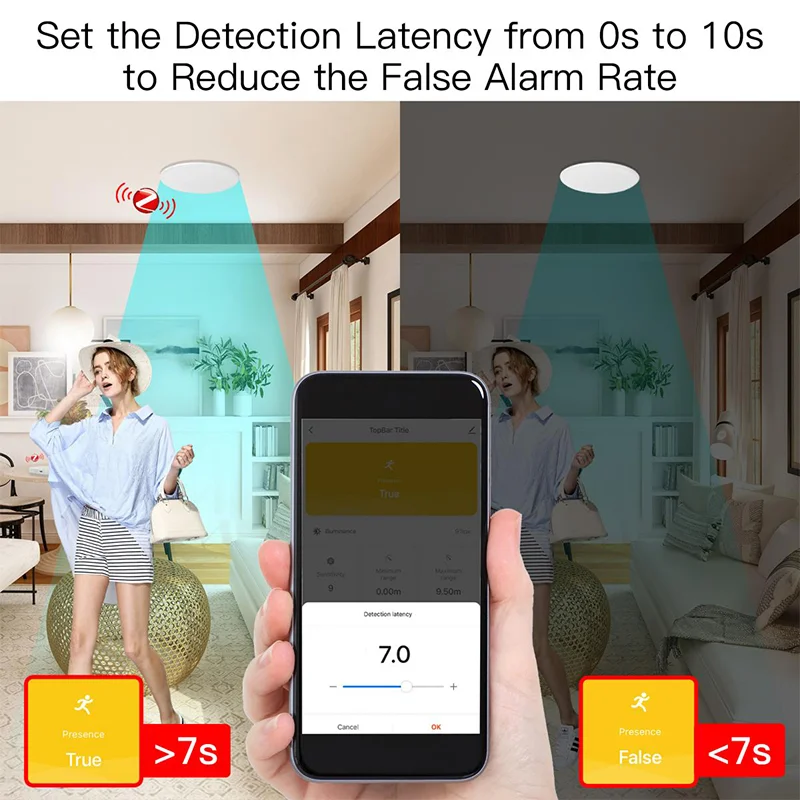
Passive infrared (PIR) sensors watch heat-motion along a fan of rays. Coverage / line of sight fails when those rays hit walls or furniture first, so a tall wardrobe or entertainment unit near the mount can carve a blind corridor into an otherwise good room. Presence-style mmWave / radar presence endpoints can hold occupancy differently, but they still need a stated room job so sensitivity and hold-time settings have somewhere to land later.
Where to place motion sensors in home projects starts with that job line—not with an empty “sensor ×6” SKU count.
Log placement height / aim direction, and obstacle photos before the ladder comes out.
Industry placement guides commonly plan indoor security sensors around roughly 6–8 feet (about two metres) on a wall, often in an upper corner, pointed at high-traffic entry paths such as doors, hallways, and ground-level windows. Outdoor motion lighting is a different class and often sits higher—around 8–10 feet in outdoor fixture guidance—so keep outdoor floodlight rows off the indoor presence sheet unless the job truly includes them.
Capture three geometry notes on every row:
A corner that photographs well on a blank floor plan can still fail after the sofa and TV unit arrive. Treat the walkthrough photo as part of the input pack, not optional marketing fluff.

Mark heat, sunlight, HVAC, pet paths, and noisy appliances on the same row as the mount point.
PIR-style devices react to sudden heat changes, so vents, ovens, strong lamp heat, and sun-warmed glass are classic false-trigger neighbors. Outdoor fixture writers also call out HVAC units and foliage as nuisance sources. Pet climb paths—especially stair approaches—can make a “perfect” height look wrong once the dog starts treating the landing as a runway.
From the field: Home Assistant installers still report PIRs that false-trigger on partly cloudy or windy days with moving shadows, and presence modules that chatter when mounted next to a microwave—sometimes the fix is simply moving the sensor off that wall.
Do not treat false triggers as a firmware mystery on day one. If the sheet never recorded “east window / kitchen microwave / HVAC supply,” the callback will look like a product failure when it was a documentation failure.
Assign every endpoint a device power class—battery, adapter-powered, or AC line—before anyone freezes a SKU.
Battery wireless sensors need battery type and expected service notes.
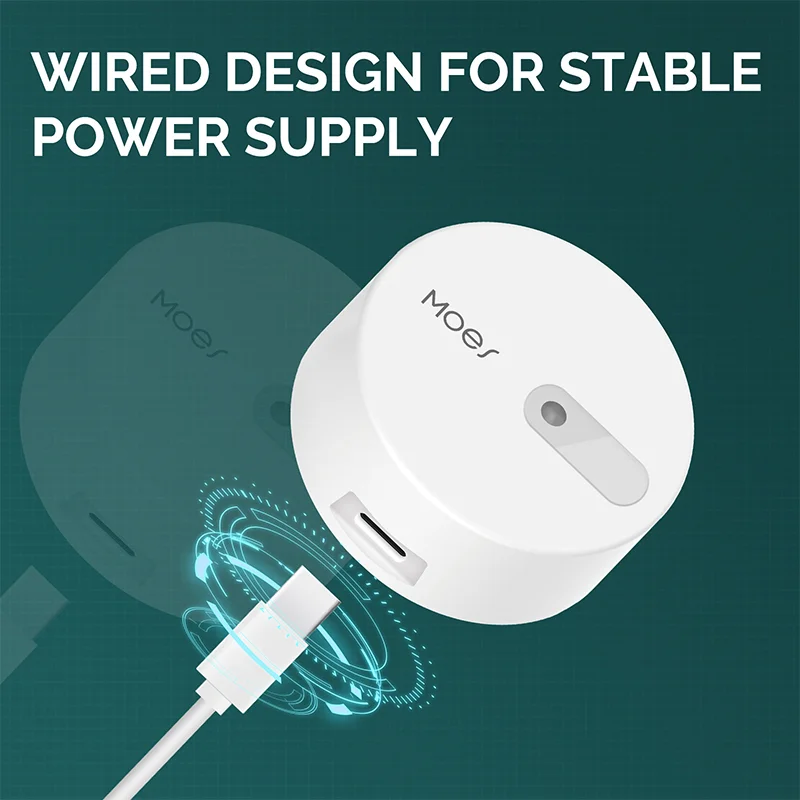
Adapter-powered sensors need a continuous outlet or PSU owner on the sheet.
AC ceiling presence detectors need a circuit ID and a licensed electrical owner for line-voltage work.
Outdoor hardwired motion lights sit in that line-voltage bucket too; they are not interchangeable with a AAA Zigbee puck for a closet.
| Power class | Typical home motion / presence form | Inputs to freeze first |
|---|---|---|
| Battery wireless | Wall/corner PIR or dual-tech puck | Battery type, mount surface, radio family |
| 5V / adapter wired | Compact radar presence with USB/5V supply | Outlet/PSU location, cable route, mount type |
| AC line / ceiling | Mains-powered ceiling presence | Circuit ID, ceiling cutout/mount, licensed owner |
| Outdoor line-voltage lighting | Motion flood / wall packs | Fixture height, weather exposure, electrician ownership |
A closet job that only supports adhesive battery mounts cannot absorb an AC100–250V ceiling detector just because the catalog photo looked similar. Write the power class before the model column.
Record the Zigbee protocol / hub path—or the Wi-Fi path—before sensors ship with the wrong pairing assumption.
Many Zigbee presence endpoints need a compatible Zigbee hub as the bridge; Wi-Fi sensors need SSID ownership and 2.4 GHz notes; PoE camera/sensor hybrids need switch power-budget ownership when they share Ethernet infrastructure. Professional wiring practice still expects labelled paths and documented rack or hub locations even when the last hop is wireless.
On the sheet, keep at least:
A smart home motion sensor that “will not join” is often a missing hub line on the project pack, not a dead radio.
Keep one archive sheet so distributors, electricians, and low-voltage crews share the same gates.
| Field | What to record | Why it blocks a clean install |
|---|---|---|
| Room / job | Arrival light, occupied hold, security intercept | Wrong sensitivity and hold assumptions |
| Coverage path | Door, hallway axis, corner FOV | Blind spots and missed trips |
| Height / aim | Wall/ceiling height; direction | Weak coverage or pet-sized triggers |
| False-trigger notes | Heat, sun, HVAC, pets, appliances | Noisy automations and callbacks |
| Power class | Battery / 5V / AC | Wrong SKU body arrives |
| Protocol / hub | Zigbee hub path, Wi-Fi notes | Pairing stalls on site |
| Sign-off | Crew + date | No owner when the remodel moves a vent |
Print the sheet beside the floor plan. Revision dates matter when furniture, HVAC, or glass changes after the first walkthrough. Cross-class electrical details such as panel capacity and switch neutrals belong on the electrical installation sheet for mixed-device jobs; this page owns the motion-sensor rows.
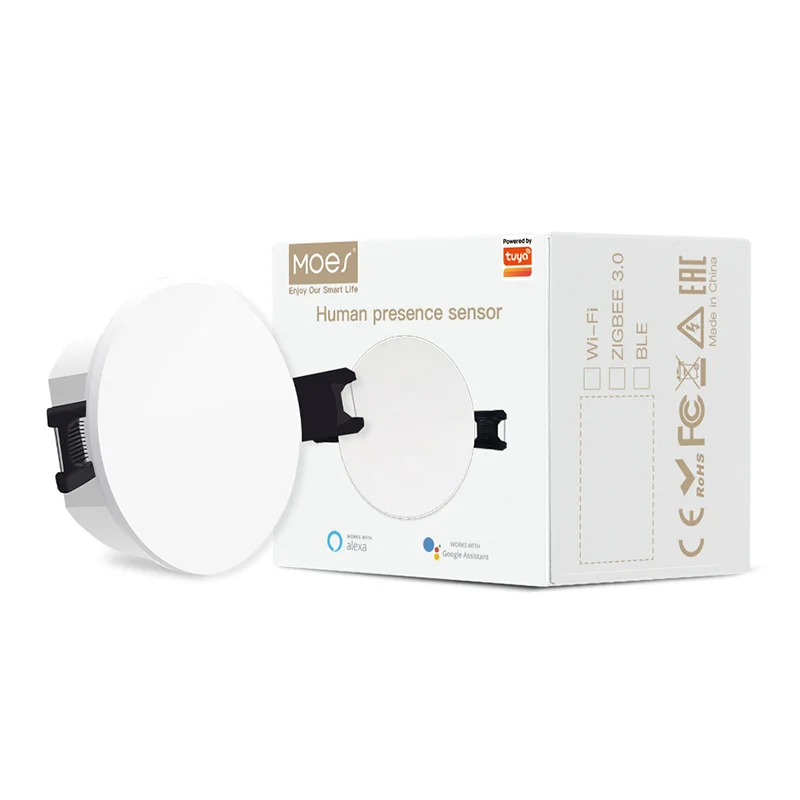
Match MOES presence SKUs only after coverage, placement, false-trigger, power, and hub gates are signed.
Browse the Tuya Smart Home Products assortment when the sheet already names power class and protocol. For battery wireless Zigbee jobs with dual-tech presence needs, the MOES ZigBee radar + PIR presence sensor (ZSS-HP05-A) publishes AAA×2 power, Zigbee3.0, a wide detection angle (≥100°), stationary detection 0–600 cm, and moving detection 0–1000 cm on its product page—use those figures only for that model.
When the sheet calls for continuous 5V power and a compact magnetic or wall mount, review the ZSS-LP-HP02 5V radar presence sensor (5V–1A, 0.5W). When the job is an AC ceiling presence with adjustable distance and hold timing, review the ZSS-QY-HP ceiling detector (AC100–250V, ceiling mount, Zigbee hub required) and keep the licensed electrical owner on the row.
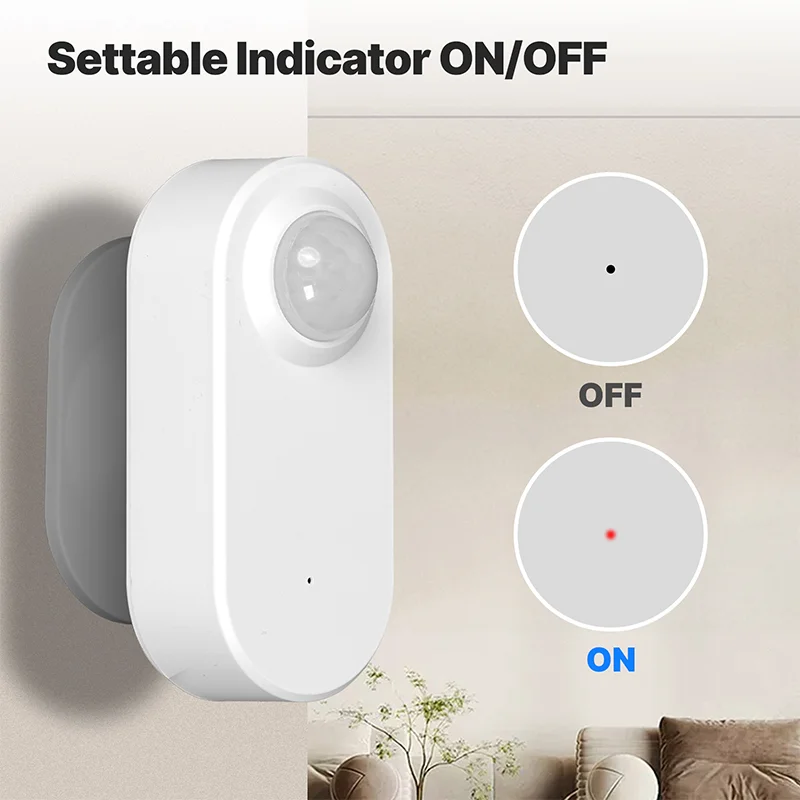
Do not treat any single SKU as proof that every protocol, mount, or power condition applies to every variant. Sign the input sheet first; then pick the body that matches the row.
Freeze room job, coverage path, height/aim, false-trigger notes, power class, and protocol/hub ownership before hardware ships.
Plan indoor mounts around clear entry paths and corners at a documented height—often near 6–8 feet on walls—and photograph obstacles that can block the view.
Avoid aiming at heat sources, HVAC supplies, sun-warmed glass, pet climb paths, and bulky furniture that creates shadows in the detection fan.
Not always. Battery, adapter-powered, and AC line classes all exist—assign the power class first so the SKU matches the wall or ceiling you actually have.
Sun, moving shadows, HVAC, and appliances such as microwaves are common environmental triggers; log those neighbors on the sheet and relocate when needed.
Many Zigbee presence endpoints need a compatible Zigbee hub or gateway—record that path before the sensors arrive.
Battery adhesive or screw mounts can stay with the low-voltage crew; AC line or outdoor hardwired lighting belongs with a qualified electrician under local rules.
Use ZSS-HP05-A for documented battery Zigbee dual-tech jobs, ZSS-LP-HP02 for adapter-powered compact mounts, and ZSS-QY-HP for AC ceiling jobs with a hub path—each only after the matching gates pass.


OTHER SMART DEVICES
Jun 13,2026
OTHER SMART DEVICES
Jun 12,2026
TUYA SMART HOME PRODUCTS
Jun 12,2026
 +86 137 3639 3028